Installation of Open5gs
Install Open5GS
We are deploying Open5gs as a native Linux daemon service application.
sudo apt update
sudo apt install software-properties-common
sudo add-apt-repository ppa:open5gs/latest
sudo apt update
sudo apt install open5gs
Setup Open5GS
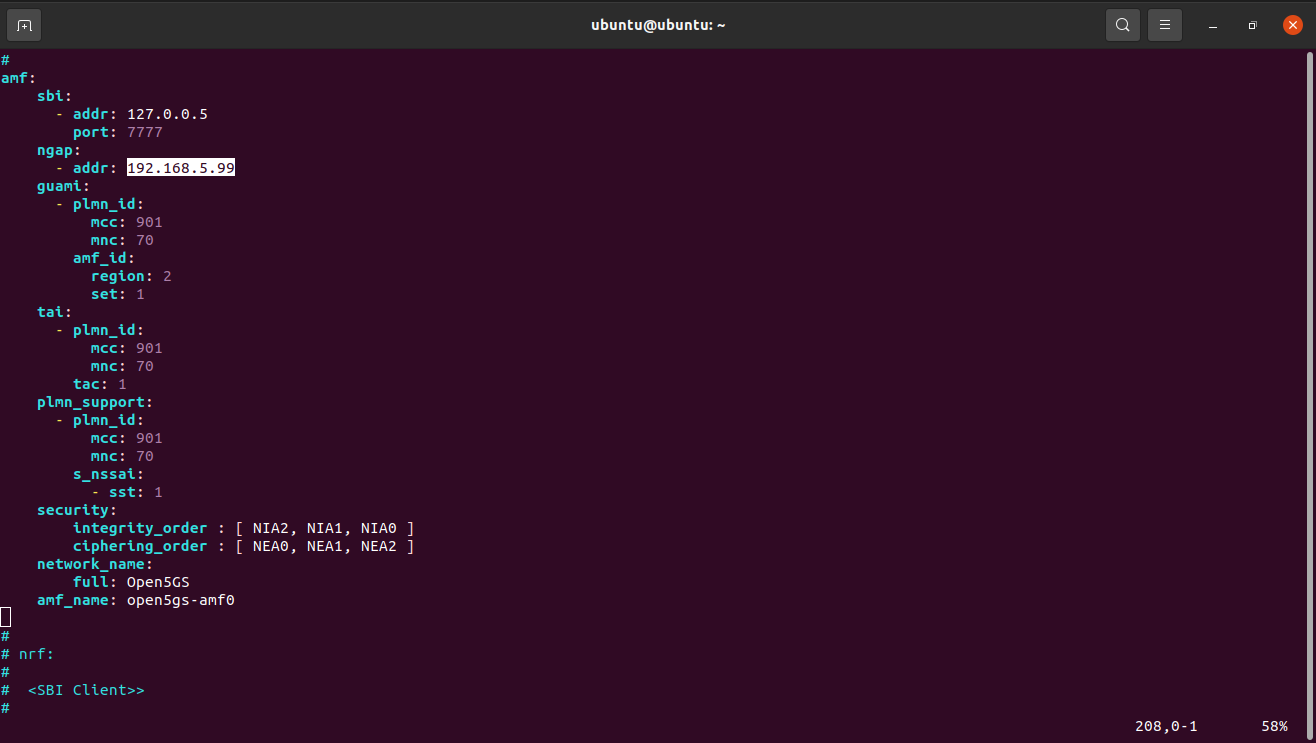
Update the Amf config file loacted at /etc/open5gs/amf.yaml by replacing given ip of ngap address to local eth0 ip. And then restart amf service.

sudo systemctl restart open5gs-amfd

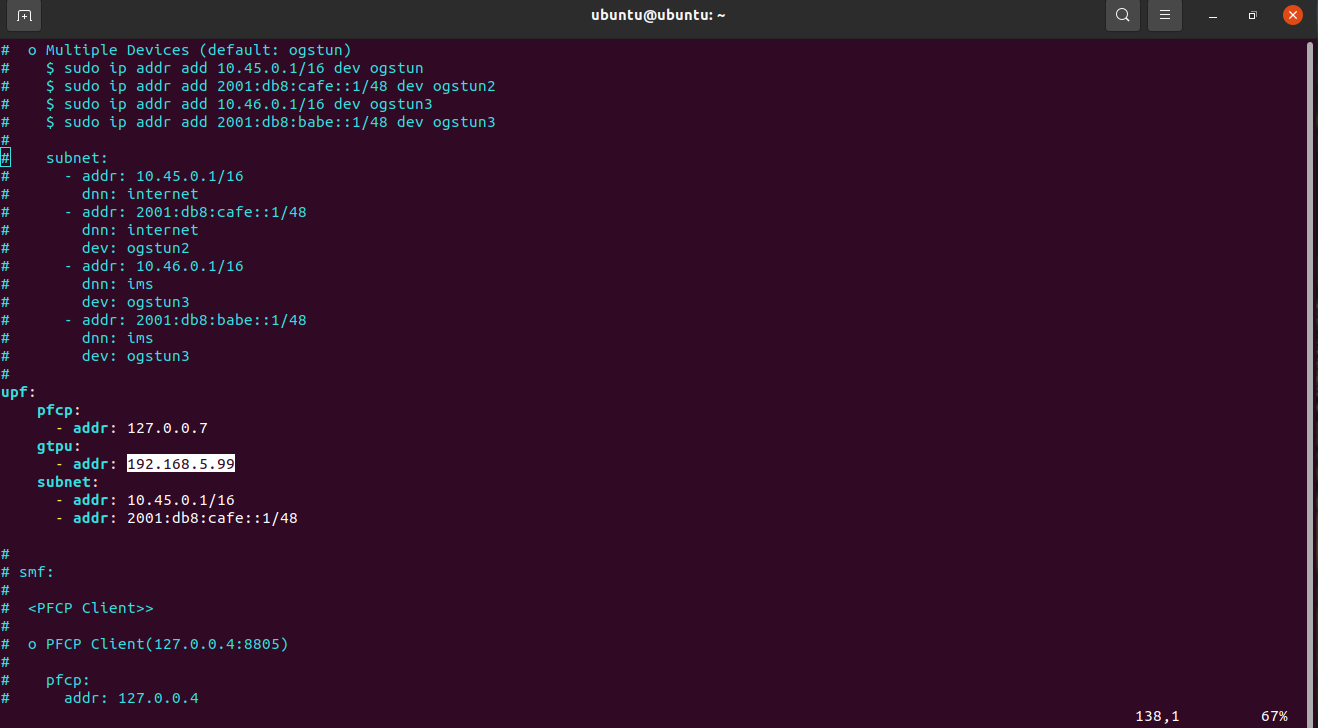
Update the Upf config file loacted at /etc/open5gs/upf.yaml by replacing given ip of ngap address to local eth0 ip. And then restart upf service.

sudo systemctl restart open5gs-upfd

NAT Port Forwarding
In order to bridge between the 5G Core UPF and Internet, we need enable IP forwarding and add a NAT rule to the IP Tables. Following are the NAT port forwarding we have to do. Without this port forwarding the connectivity from 5G Core to internet would not work.
sudo sysctl -w net.ipv4.ip_forward=1
sudo iptables -t nat -A POSTROUTING -o eth0 -j MASQUERADE
sudo systemctl stop ufw
sudo iptables -I FORWARD 1 -j ACCEPT
Access Open5gs Dashboard
Now we need to access our open5gs dashboard.
sudo apt update
sudo apt install curl
curl -fsSL https://deb.nodesource.com/setup_14.x | sudo -E bash -
sudo apt install nodejs
git clone https://github.com/open5gs/open5gs.git

# run webui with npm
cd webui
npm ci --no-optional && npm run build
npm run dev --host 0.0.0.0

# the web interface will start on
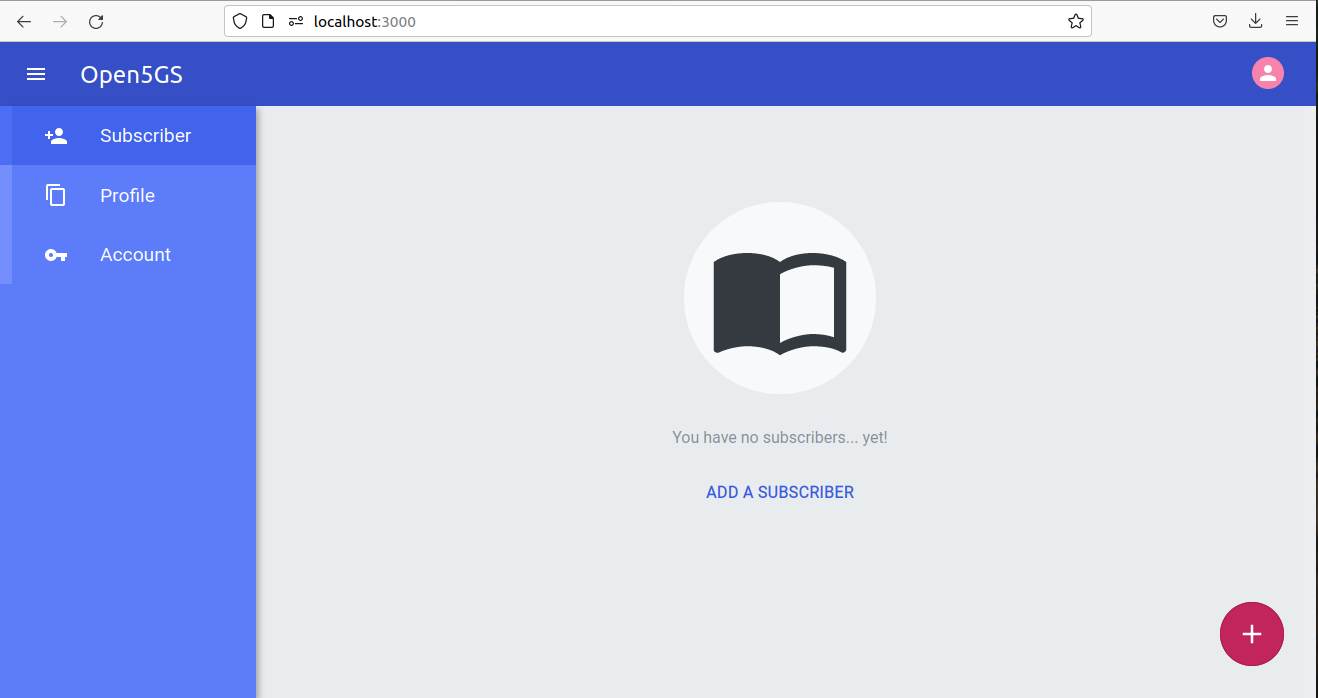
http://localhost:3000

# run this command if you are on remote serverand want to access dashboard locally
ssh -L localhost:3000:localhost:3000 ubuntu@ip

Note
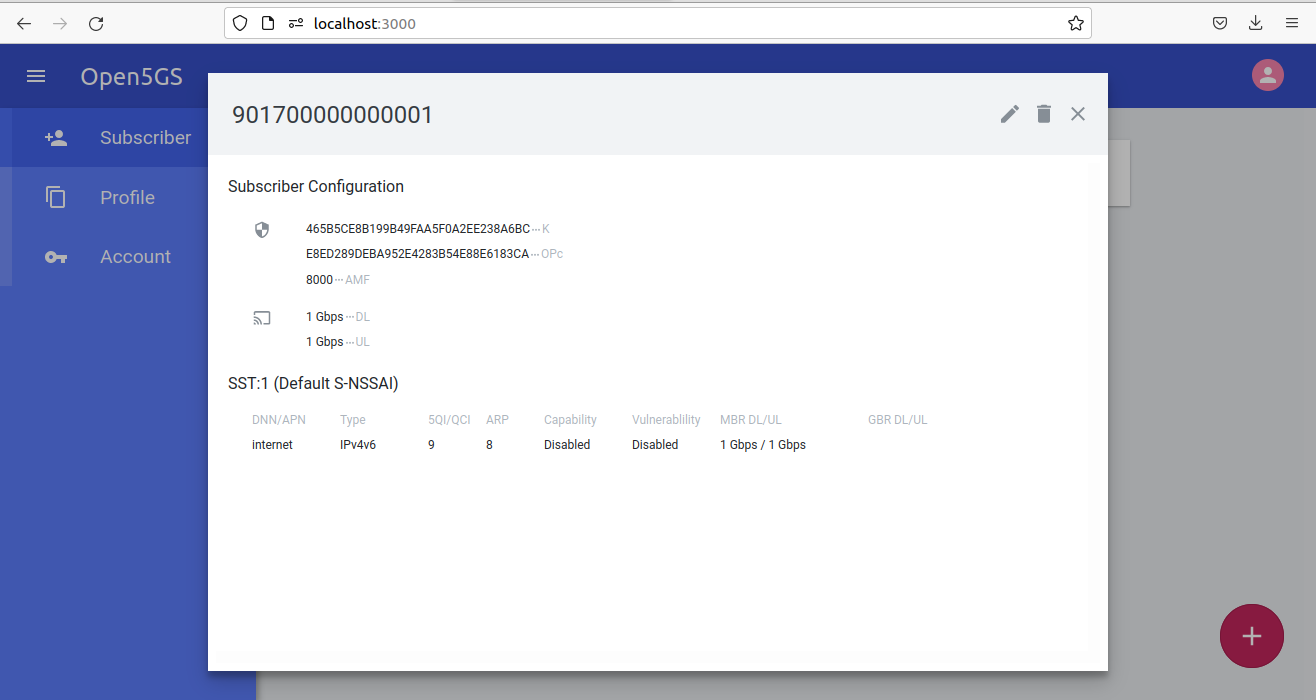
Login with follwoing credentials and register ue from dashboard.
Login credentials : username - admin password - 1423
Add new subscriber from dashboard : IMSI: 901700000000001 Subscriber Key: 465B5CE8B199B49FAA5F0A2EE238A6BC USIM Type: OPc Operator Key: E8ED289DEBA952E4283B54E88E6183CA
